
Quick problem: why prototypes bite you
Parts come back wrong because somebody designed like a theorist, not like a machinist. Tight corners, paper-thin walls, and mystery radii kill yields and jack up cost. If you’re planning to move a part from a one-off CNC prototype to production or need repeatable snap-fit details, factor tooling and scale early — or consider custom injection molding services before you finalize the drawing.
Common pain points you’ll see on the shop floor
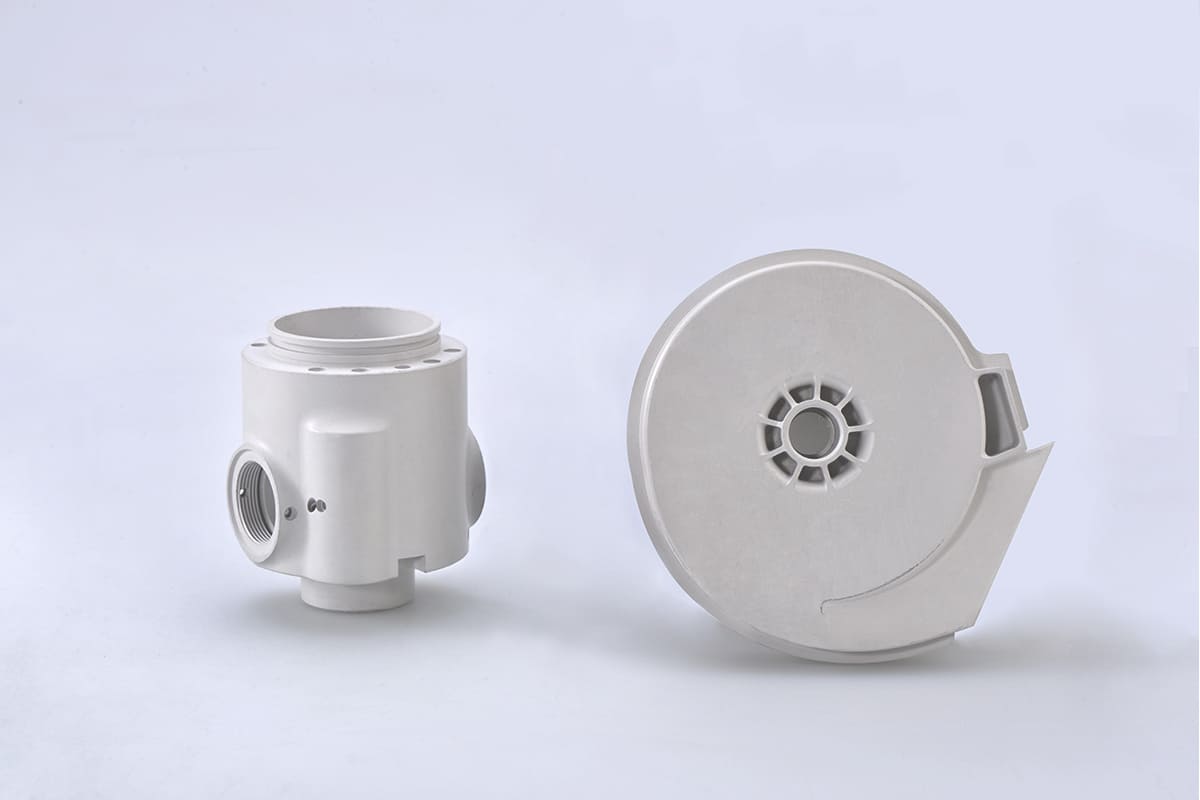
People ignore obvious traps. Thin ribs that warp, undercuts that require complex fixtures, bosses that strip during assembly. Over-tight tolerances on non-critical dimensions. Expect burr cleanup, rework, and surprise secondary ops when those show up. Call out only critical fits; relax the rest.
Material and tolerance rules that actually matter
Pick material with the job in mind. Nylon and POM resist wear; ABS and PC handle cosmetic surfaces; PP is cheap but flexible. For CNC prototypes, hold critical features to ±0.02–0.05 mm if the shop uses precision mills; expect injection molded parts to be nearer ±0.1–0.25 mm depending on size and geometry. Keep walls consistent: for molded parts aim 1–3 mm typical, avoid sudden thickness changes. Add fillets to corners — sharp corners cause stress concentrations and machining chatter.

Which process to pick — and when
CNC: quick, accurate for small runs and metal. Injection: best for volume and low per-part cost but needs tooling. 3D printing: cheap for complex, low-strength prototypes. Don’t pick a process because it’s trendy. Match part function to process: load-bearing, tight seams, or high-temp components usually go CNC for prototypes; cosmetic or high-volume snap-fit parts belong with molding.
Tooling, lead time, and cost tradeoffs — plain talk
Tool complexity is the big money driver. Undercuts, tight surface finish, and multi-cavity molds increase tooling time and cash. If you’re unsure, start with soft tooling or a short-run bridge tool. Freeze the geometry you must and leave non-critical items flexible. Changing geometry after tooling starts will cost more than you think and slow you down steeply.
Quality checks that save you grief
Decide which dims are mission-critical and call out inspection methods: CMM for complex geometry, go/no-go gauges for repeat assembly features, functional fixtures for fit tests. Catch stack-up on mating parts before full runs. A single bad boss can trash an entire enclosure run — check it first.
Real-world check: what works on the floor
From quick runs in the Shenzhen manufacturing hub to European plants, buyers who work with experienced shops see the same fixes: add draft to molded faces, use standard boss sizes, and keep ribs shallow. That practical know-how is what a reliable custom plastic parts manufacturer will call out on your drawing, saving weeks and avoiding costly rework.
Design mistakes I keep seeing — and how to stop them
Stop specifying mirror-image tolerances on everything. Stop designing invisible fasteners into cramped bosses. Stop assuming thinner is always lighter and cheaper. Do these instead: label critical interfaces, show section views for complex areas, add serviceable features for tool access, and get a manufacturability review before committing to tooling.
Wrap-up — the simplest path to fewer headaches
Keep it pragmatic: choose materials for function, relax non-critical tolerances, and design with the chosen process in mind. Small fixes up front — draft, uniform walls, and clear critical-dimension callouts — avoid major delays later. That clean, practical approach is exactly how Hanstar tends to handle prototype-to-production transitions on short runs and molded parts.