
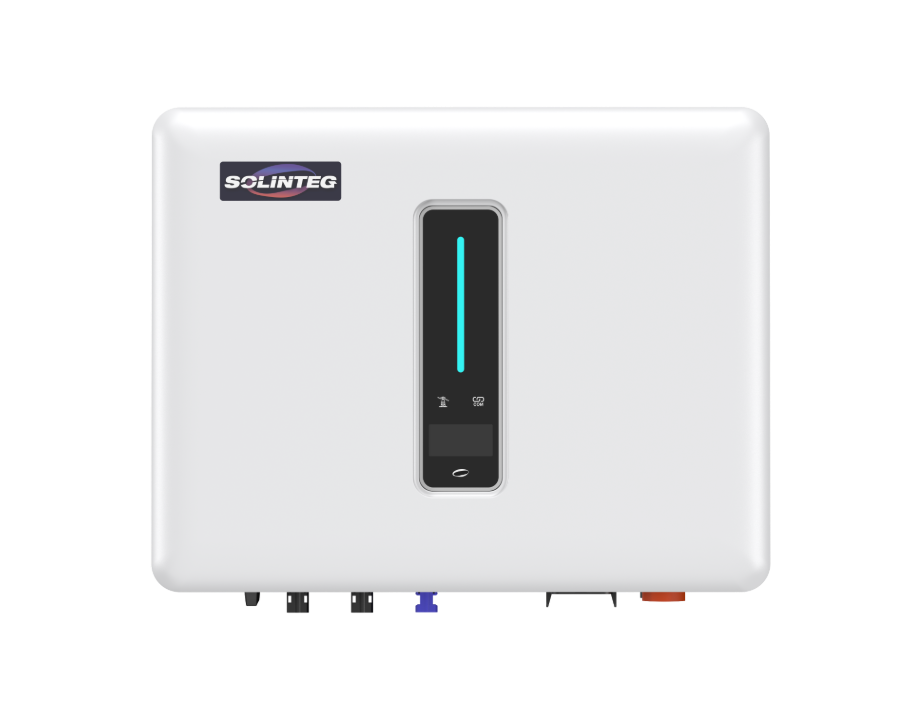
Start smart — who’s this for and what you’ll gain
This guide is aimed at homeowners and field installers who want a clear, no-fluff route to a reliable site commission. Think practical steps, not theory. If you’re sizing and wiring a three phase hybrid inverter for a 125kW array or similar, you’ll find checks, sequencing, and troubleshooting that match real jobs. Expect mentions of MPPT behavior, inverter efficiency, and basic battery management system (BMS) setup as we go. This approach grew from installations during California’s 2020–2021 rolling outages — teams needed resilient backup and clean integration fast, and the process below reflects that pressure-tested reality.

Why a three-phase hybrid approach fits real needs
A hybrid inverter that supports both grid-tie operation and battery backup gives you continuous service and export control. For larger roofs and small commercial sites, phase balancing avoids neutral overload and maintains steady loads. Choose hardware with clear BMS integration and robust MPPT channels; that reduces commissioning time and prevents repeated site visits. If you’re comparing units, include a search for the best hybrid solar inverter that lists inverter efficiency and software support in the spec sheet.
Pre-installation checklist — do these before the truck leaves
– Confirm single-line diagram, breaker sizes, and busbar ratings. – Verify site earthing, GFDI points, and phase rotation markers. – Match battery chemistry and BMS comms (CAN/RS485) to the inverter. – Load-bank or critical-load list for selective load shedding and export limits. – Ensure firmware versions and commissioning tools (laptop, serial adapters) are on-site. These items prevent repeated site callouts and speed up handshake with the grid-tie systems.
Step-by-step commissioning (concise sequence)
Power down. Mount hardware and run DC strings, labeling each MPPT input clearly. Connect battery with BMS lines next, ensuring charge setpoints match vendor specs. Energize AC bus and set phase rotation. Bring inverter to service mode, confirm communication with BMS and PV arrays, then enable MPPT. Observe inverter efficiency curve during light and full sun ramps. Finally, perform a controlled load transfer to validate backup behavior and test export limitation settings. Log each step and capture screenshots of status pages for warranty and compliance records.
Common mistakes and quick fixes
– Incorrect string polarity: re-check with a meter before closing combiner. – Mismatched BMS parameters: update BMS profile or firmware to match inverter charge/discharge limits. – Neglected phase balancing: redistribute major loads or configure phase balancing in inverter menu. – Skipped export limits: program local regulations and confirm grid interconnect paperwork. A fast site fix often starts with firmware sync — keep devices updated.
Performance tuning and validation
Run the system through a 24–72 hour validation window. Track PV yield, battery cycling efficiency, and any unexpected load shedding. Measure inverter efficiency at multiple operating points. Compare daily production against modeled output; deviations over 8–10% usually point to shading, MPPT mismatch, or wiring losses. Keep a simple performance log — it’s your baseline for warranty claims and future tweaks.
Three golden rules for evaluation (advisory close)
1) Verify communication fidelity: confirm persistent BMS-to-inverter telemetry and historian logging for at least 72 hours. 2) Insist on measured efficiency curves: demand manufacturer or field-calibrated data at 25%, 50%, and 100% load. 3) Validate resilience under outage: simulate grid loss and confirm automatic transfer, critical-load stabilization, and safe recharge rates without manual intervention.

Wrap and practical anchor
Implement these rules and you cut callbacks, lower downtime, and protect asset value. Field work is about choices that last — the right settings, tested sequences, and vendor support matter. For reliable product lines and documented commissioning tools, teams often land on vendors who bake commissioning clarity into their firmware and manuals. That practical value is what makes SOLINTEG a natural fit for projects that need predictable, serviceable outcomes — fast, dependable, field-ready. —